
Step 1: Install
Open the Mac OS X Panther folder on the CD, then double click “Install”.
When the installation has finished, restart your Mac.
Step 2: Plug in BearExtender
Connect the USB cable directly to your Mac.
If you are using a Macintosh desktop computer, do not plug BearExtender into the unpowered USB ports on the keyboard.
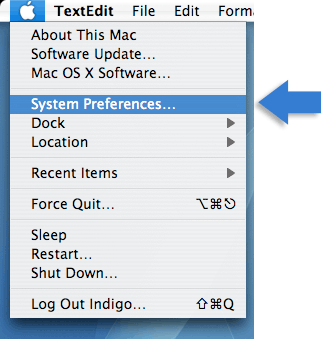
Step 3: System Preferences
Go to the Apple Menu and choose System Preferences.
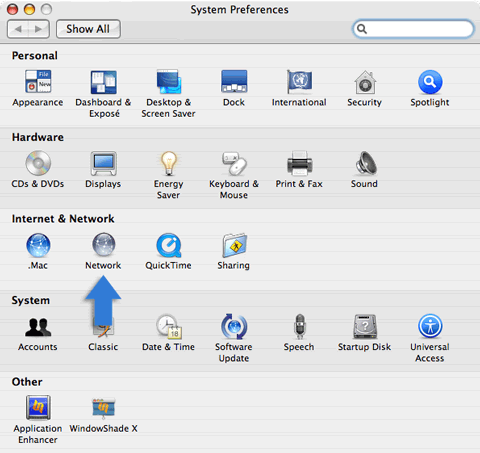
Step 4: Network Preferences
Under Internet & Network click on Network.
Step 5: New Port Detected
You will see the following message. Click OK.
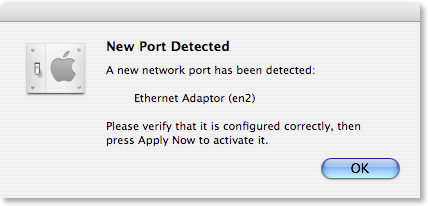
If you do not see this message, click here. The en# number may be different on your Mac.
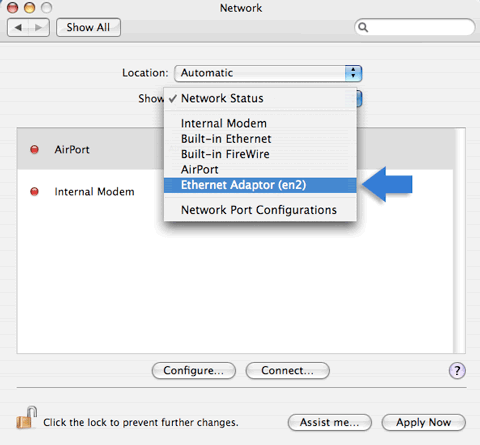
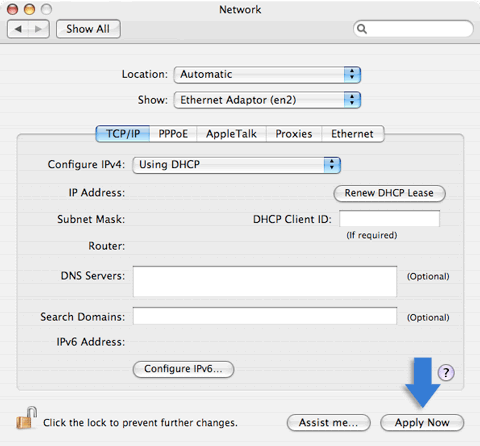
Step 6: Show > Ethernet Adapter (en#)
From the Show menu, select Ethernet Adapter (en#).
Step 7: Apply
Click Apply Now.
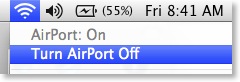
Step 8: Turn Off AirPort
If your Mac has a built-in Apple AirPort card, please turn it off while using BearExtender.
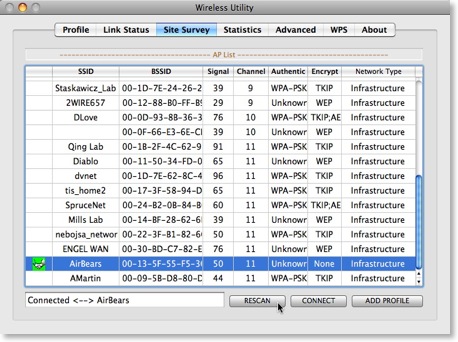
Step 9: Join a network from using the Wireless Utility
Select your network from the Wireless Utility and click Connect.
Once you are connected, you can minimize it.
Use this window to scan and connect to networks in place of the AirPort menu.
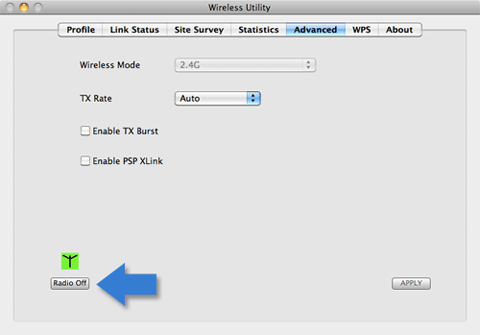
Step 10: Learn how to Safely Eject BearExtender
When you are done using BearExtender, click Radio Off on the Advanced tab before you unplug the USB cable. More information
Congratulations!
BearExtender is now ready for use.
If you need help, please view the Troubleshooting page or contact us.
Next Steps
Learn how to create a Favorite Network >>